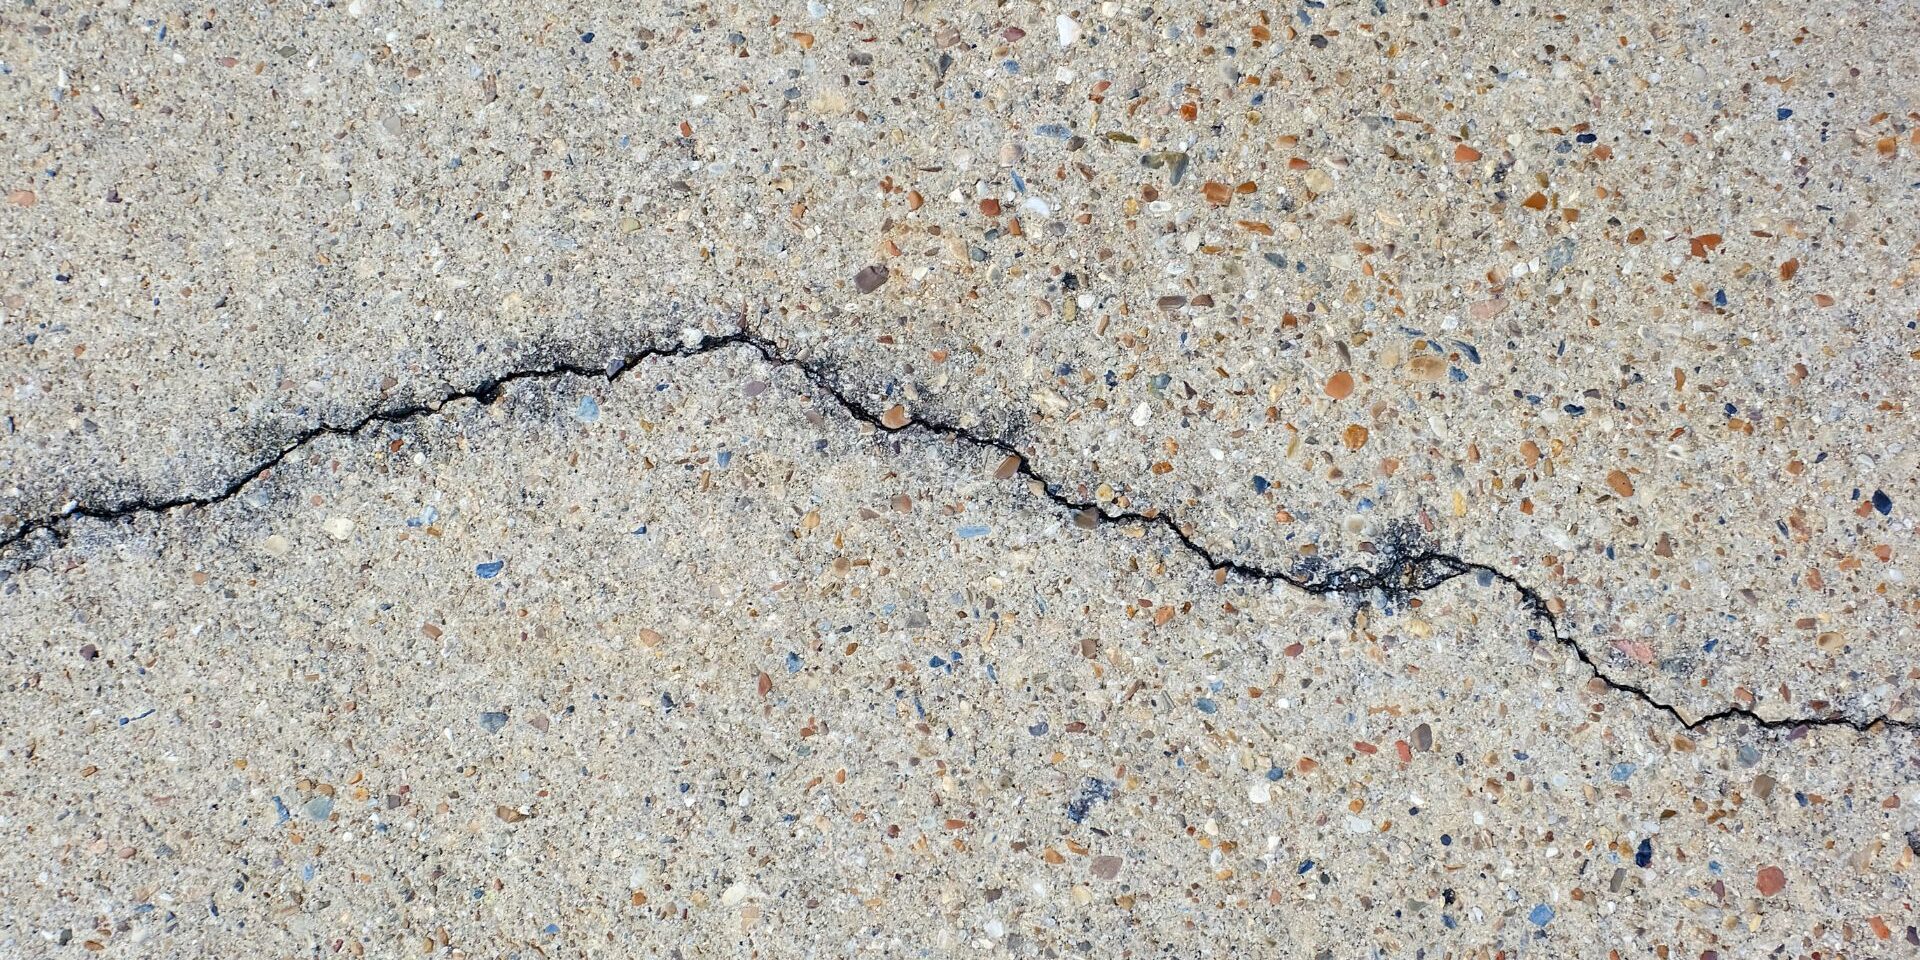
Cracks in your garage floor can turn a functional space into an eyesore, compromising both safety and aesthetics. Whether caused by heavy vehicles, temperature fluctuations, or settling soil, these fissures demand timely attention to prevent further damage. Repairing garage floor cracks is a manageable task for homeowners, offering a cost-effective way to restore durability and enhance curb appeal. This guide provides a seamless approach to fixing cracks in your garage floor, ensuring your garage floor remains robust and visually appealing.
Causes of Garage Floor Cracks
Garage floor cracks often emerge from natural wear and environmental factors. The constant weight of vehicles, seasonal expansion and contraction of concrete, or even shifting soil beneath the slab can create stress fractures. Smaller hairline cracks, often less than a quarter-inch wide, may seem minor but can widen over time, especially in areas prone to freeze-thaw cycles where water infiltration exacerbates damage. Larger cracks, particularly those exceeding half an inch, may indicate deeper issues like rusted rebar or poor initial concrete installation. Identifying the cause is crucial for selecting the appropriate repair method, ensuring a fix that withstands the test of time. For complex cases, consulting a professional garage flooring service can provide tailored solutions.
Preparing the Cracked Surface for Repair
Effective crack repair begins with thorough preparation, as a clean and stable surface ensures a strong bond for the repair material. Start by clearing the garage of clutter, sweeping away loose debris, and using a shop vacuum to remove fine particles from the crack. For stubborn grease or oil stains, apply a degreaser or use a pressure washer, but allow the area to dry completely to avoid trapping moisture, which can weaken the repair. Next, use a chisel and hammer to widen the crack slightly, forming a V-shaped groove. This shape enhances adhesion by giving the filler a broader base to grip, preventing it from dislodging later. Proper preparation sets the stage for a durable, long-lasting repair.
Choosing and Applying the Right Repair Material
Selecting the appropriate material depends on the crack’s size and depth. For narrow, hairline cracks, a high-quality concrete sealant applied via a caulk gun fills the gap efficiently. Smooth the sealant with a putty knife for a flush, professional finish. For wider or deeper cracks, opt for a vinyl concrete patcher or epoxy garage floors products, which offer superior strength and durability. Mix the patcher according to the manufacturer’s instructions, then pack it into the crack, overfilling slightly to account for shrinkage. For very deep cracks, insert a foam backer rod to reduce the amount of filler needed, saving material and ensuring stability. Once applied, level the surface with a trowel, blending it seamlessly with the surrounding concrete for a polished look.
Finishing and Protecting Your Garage Floor
After applying the repair material, allow it to cure fully—typically 24 to 48 hours for foot traffic and up to a week before parking vehicles. Rushing this step can compromise the bond, leading to cracks reappearing. Once cured, lightly sand any rough patches with a grinder to achieve a smooth, even surface. To enhance durability and aesthetics, consider applying a concrete sealer or epoxy coating, which are among the top garage flooring options for resisting stains, moisture, and wear. These protective layers not only extend the life of your repair but also give your garage a sleek, professional appearance, boosting its overall value.
When to Seek Professional Help
While many cracks are suitable for DIY repairs, some situations call for expert intervention. Cracks wider than half an inch, accompanied by sinking slabs or persistent water seepage, may indicate structural issues requiring advanced techniques like slab jacking or full resurfacing. For these complex repairs, Top Choice Garage Doors stands out as a premier professional garage flooring service. Their experienced team can assess underlying problems, recommend customized solutions, and deliver flawless results that ensure long-term durability.
Maintaining Your Garage Floor for Longevity
A successful repair of garage floor cracks is only the beginning—ongoing maintenance is key to preventing future cracks. Ensure proper drainage around your garage to minimize water infiltration, avoid overloading the floor with excessive weight, and maintain consistent temperatures where possible to reduce concrete stress. Regularly inspect your floor for new cracks or wear, addressing them early to avoid costly repairs. By combining diligent upkeep with high-quality repairs, you can keep your garage floor functional and attractive for years to come.
Repairing cracks in your garage floor is a practical way to enhance its durability and aesthetic appeal, safeguarding your home’s foundation. Whether you tackle the project yourself or enlist the expertise of Top Choice Garage Doors, acting promptly ensures lasting results. Share your repair tips or questions in the comments, and dive into more garage improvement advice to maintain a space that’s both practical and inviting.
Recommended reading: How to Remove Paint Stains from Garage Floors


